Recording lessons

Recording lessons can be a powerful way to support student learning. However before implementing any new technology, especially those that require student engagement outside the classroom certain questions should be asked:

  • Is there a benefit for my students?
  • Do I want to invest some time in this?
  • Is the technology going to work in my school environment?
    • If not who can help me make it work and will the time it takes be worthwhile in the long term?
  • Is the technology available to my students at home?
    • Is it easy to use and access?
Recording a lesson should be no more complicated than opening 
the software, pressing record, going about your lesson in exactly the same 
manner as any other lesson, press stop recording and then uploading the
video to a place for students to access.

Five reasons to record your lessons:

  1. Absences: Student absences are frustrating. There is nothing worse than teaching a critical lesson, outlining a new topic or explicitly teaching a new concept and one or more students are away. If the lesson has been recorded then the student has the opportunity to catch up on what they have missed without the teacher having to spend time during the next lesson ‘catching the student up’. The link to the video can also be sent to the parent via email or txt message.
  2. Note taking: If students know they can access a video of the lesson at any time they do not need to spend time taking notes during the lesson. Removing the need for note taking allows students to focus on the lesson being presented rather than rushing to keep up with note taking.
  3. Teacher feedback: Recording lessons can pick up the discussions that occur during lessons (a good microphone may need to be purchased). This allows the teacher to hear who is responding and their understanding of concepts. It also provides feedback to the teacher about the lesson – How did it go? What would I change? Was my questioning effective? etc.
  4. Flipped learning: A growing trend in education is flipped learning. This requires the teacher to 1. create a lesson (or part of) outside of normal lesson time or 2. find a video made by someone else and ask students to view the video for homework reducing the time needed in class for explicit teaching of the concept and more time for application and discussion of the concept.
  5. Revision/parent involvement: A series of lessons recorded on a topic provides a resource for students to look back on to revise for an assessment task or test. If parents are made aware of how to access recorded lessons they can support their child at home to access them. This is true for younger students whose parents may wish to sit down and help them strengthen a concept.
You may not be someone who wants to record every lesson (I don't). But you 
may want to record the odd lesson or section of a lesson every now and then.
For example a 15 min explicit teaching lesson in maths or a 10 minute
procedure in science or a 5 minute grammar rule in English.
If it is something you always teach then the video becomes a resource
you can use in the future. Having the skills and tools to do this
is a valuable addition to your teaching strategies.

How can I record lessons?

Screen record on the iPad using a new iOS 11 feature

iOS11 has the ability to screen record your iPhone or iPad which allows teachers to create recorded lessons using these devices. iOS11 saves the video into the Photos app. There were some bugs initially with the audio not working when the video file was uploaded to sites like You Tube or apps like iMovie. This bug has been fixed in iOS11.2.

ShowMe (iPad)

ShowMe developers say: ShowMe allows you to record voice-over whiteboard tutorials and share them online. It’s an amazingly simple app that anyone can use. ShowMe is a very simple and easy way to get into recording lessons. I have used this app previously for this purpose and it is best used with a stylus to write on the iPad screen. Creating a ShowMe account allows you to upload your videos to an online account providing a place for your students to access the completed lessons. You can also access other teacher’s ShowMe lessons in a variety of subject areas. Lessons will also be saved in the app without having to upload to the ShowMe website.

Educreations

Educreations is another whiteboard app that I have used to record lessons and works in a similar way to ShowMe. It offers more functionality and options but is essentially the same idea. It allows you to record lessons and upload them to the Educreation’s website to be accessed by your students. Educreations also has its own You Tube channel which allows you to access other teacher’s Educreation videos.

As well as creating lessons on the iPad you can also create lessons on your computer once you have logged in with your account. This does require writing with the mouse which I find annoying (easier with a stylus on the iPad or a touchscreen laptop).

To connect your iPad to a your display in the classroom you have a number
of options:
> Use Apple TV's Airplay function (Apple TV - $209 and a tech who can make 
it work at your site)
> iPad HDMI connection. $49 from Apple - Lightening to HDMI.
Click here to view.
> iPad VGA connection. $49 from Apple - Lightening to VGA.
Click here to view.

Quick Time (Mac)

Quicktime is the video playback app available on Mac which has a function allowing screen recording. If you own a Mac then Quicktime comes as part of the operating system and does not need to be downloaded. If you own a Widows PC or laptop you will need to download Quick Time although it is worth noting that Apple have dropped support for Quick Time on Windows past Windows 7. Apple says: QuickTime 7 is for use with Windows Vista or Windows 7. If installed on other versions of Windows, it may not offer full functionality. You can download Quick Time for Windows 7.7.9 here.

Screen Cast-O-Matic

There are many web based screen recorders like Screen Cast-O-Matic. I have used the free version of this (15mins free recording) and it works well. The paid version is also relatively cheap, a one year subscription costs $1.50 per month or a three year subscription costs $1 per month.

Ink2Go (Windows or Mac)

This app costs AU $30.99 (US $19.90 for Windows or Mac). While it is expensive compared to other apps it offers some great functionality for those serious about screen recording lessons. Download Ink2Go here. I have not had the chance to use the app to record a full lesson but have played with it and it seems to do a good job.

Ink2Go website says: Ink2Go is an extremely simple yet powerful screen annotation and recording software. You can easily write on top of any other application that is currently active on the desktop, even on a running video. You can then save your annotations as an image file or even record the whole session as a video for sharing. It is a useful tool for presenters to communicate and share ideas during a live session, for educators to create effective video tutorials.

Byron Bay High School – Flipped Learning

Flipped learning may not be something you want to explore and recording some or all of your lessons does not mean you are ‘Flipping’ your classroom. If you are interested in finding out more about Flipped learning visit the Byron Bay High Math faculty blog which has detailed information about how they have applied the concept of Flipped learning.

AITSL Teacher Standards (Proficient)

By using technology in this way you are addressing the following aspects of the AITSL Teacher Standards:

  • Domain: Professional Knowledge – 2. Know content and how to teach it.
    • 2.6 Information and Communication Technology (ICT) Use effective teaching strategies to integrate ICT into learning and teaching programs to make selected content relevant and meaningful.
  • Domain: Professional Practice – 3. Plan for and implement effective teaching and learning.
    • 3.4 Select and use resources, including ICT, to engage students in their learning.


Connecting with Parents at PBAS

There are significant benefits to communicating a child’s learning to parents outside of the traditional term report, take home book and parent teacher interview. This post looks at two ways to engage parents and caregivers beyond the traditional structures schools put in place to connect student learning with home.

The following are benefits resulting from increasing parent involvement in a child’s learning:

  • Children tend to achieve more, regardless of ethnic or racial background, socioeconomic status, or parents’ education level.
  • Children generally achieve better grades, test scores, and attendance.
  • Parents have a better understanding of the teacher’s job and school curriculum.
  • Parents’ perceptions of the school are improved and there are stronger ties and commitment to the school.
  • When schools have a high percentage of involved parents, teachers and principals are more likely to experience higher morale.
  • Teachers and principals report an increase in job satisfaction.
  • Schools that actively involve parents and the community tend to establish better reputations in the community.

To see another 16 reasons why engaging parents with their child’s learning is important click on the following link: Excerpt from Home-School Relations: Working Successfully with Parents and Families, by G. Olsen, M.L. Fuller, 2008 edition, p. 129-130.

The following two communication methods are practical examples of how classroom teachers can connect with parents. Both methods have been successfully used this year by Kelly and Ange.

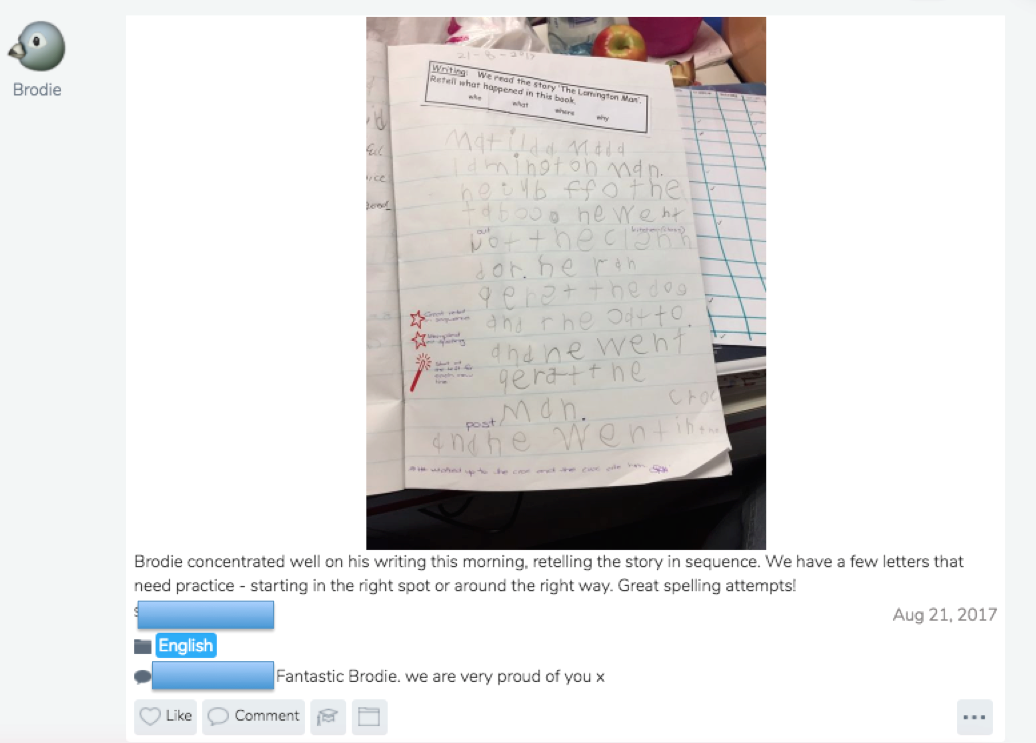
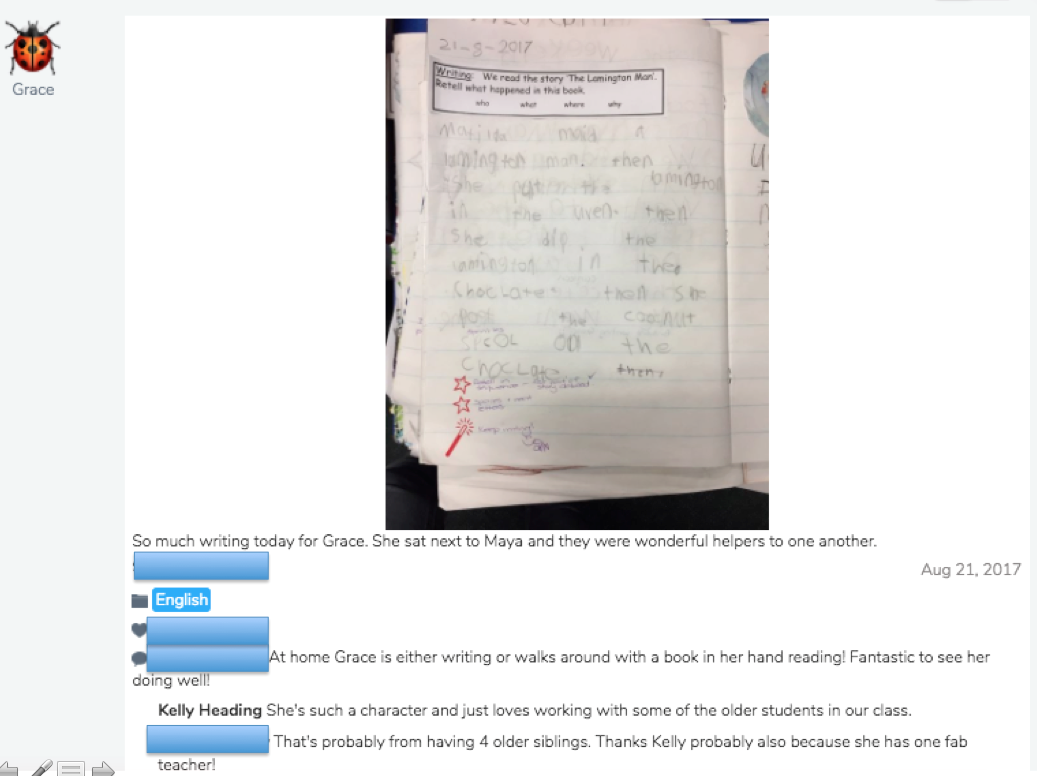
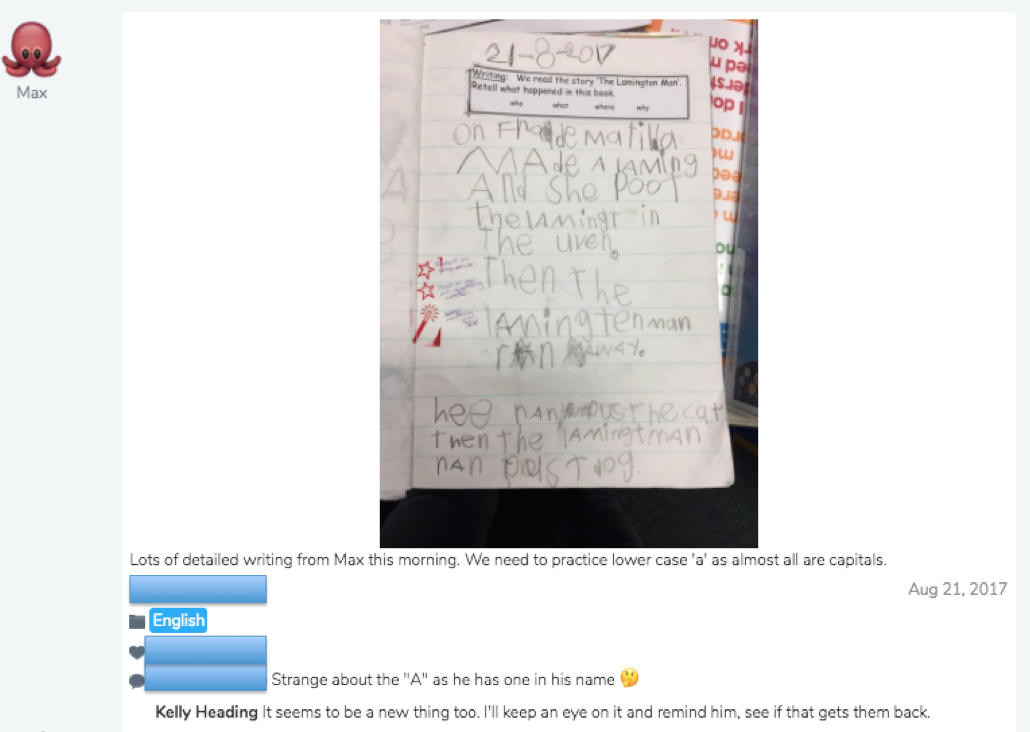
Kelly uses the Seesaw app  (available on Apple and Android devices) which allows moments in time to be captured via image or video along with student or teacher comments and made available instantly to the parent of that child. If time does not allow for sharing instantly then video, images and comments can be uploaded later at a more convenient time. It allows Kelly to create portfolios of work for each child with control over what is posted, who can see it and when it is posted. These portfolios can be divided into subject folders.

The benefits that Kelly has found by using Seesaw over traditional take home books include:

  • The ease at which information can be sent home.
  • An instant connection with parents. Parents will often comment on their child’s work the same day it is sent.
  • It provides parents with a more regular up date of their child’s progress as opposed to a take home book that only goes home at the end of each term.
  • The regular nature of sharing student learning allows parents to have better informed conversations around their child’s learning at home.
  • Seesaw allows video to be used which is much more powerful (at times) than static work samples or images found in a take home book.
  • Kelly no longer has to store and keep track of a take home book for each child.
  • Kelly no longer has to spend time cutting and gluing work samples into a take home book.
  • NIT teachers for Kelly’s class can be connected to the account and add to student portfolios.


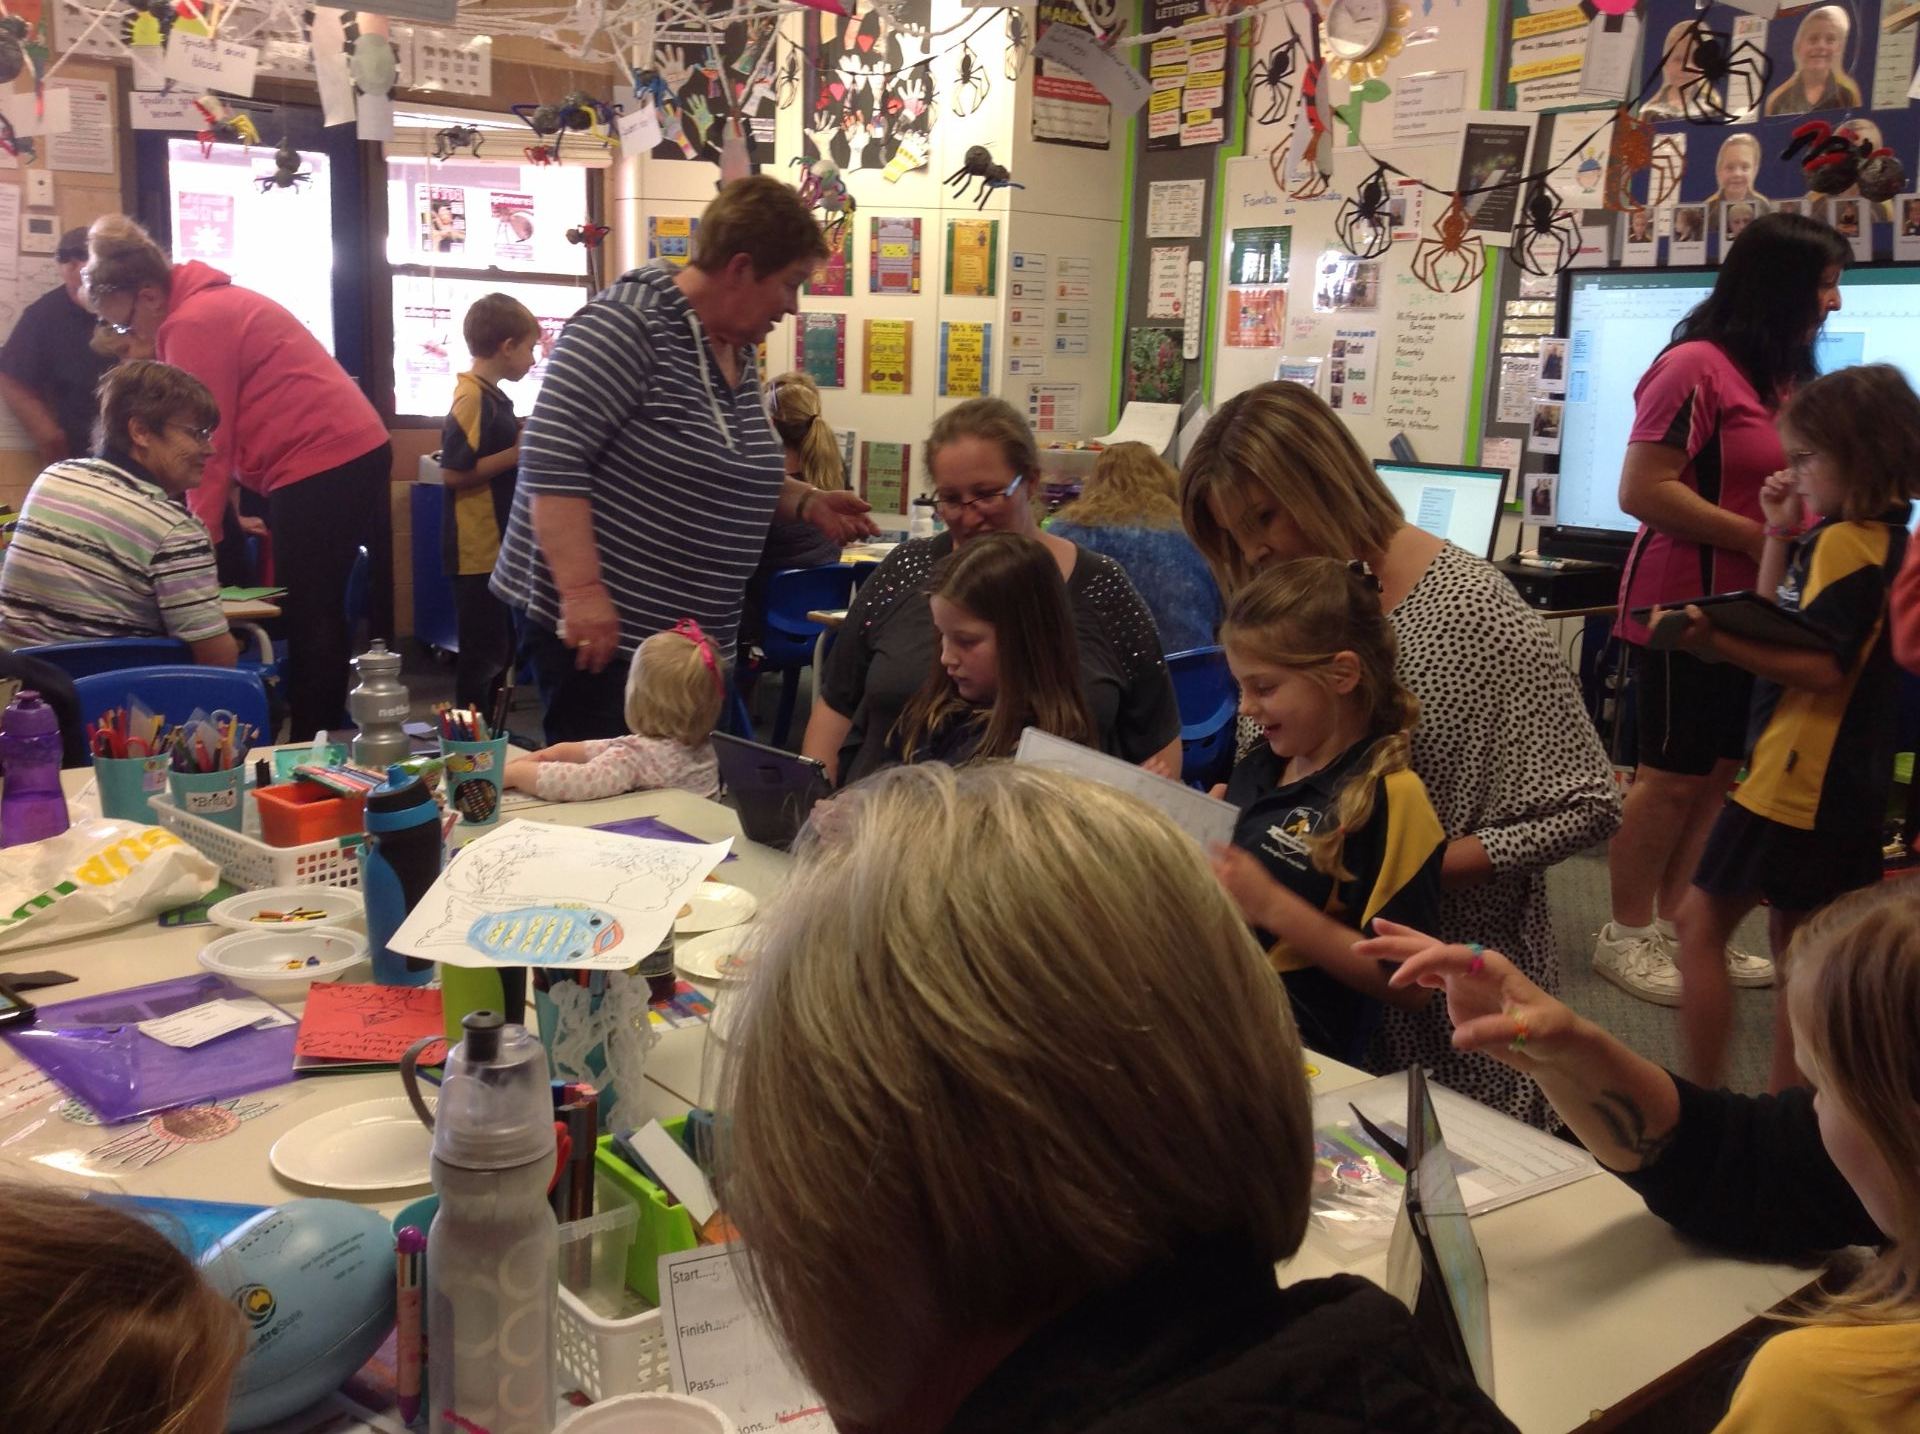
On Thursday of week 10, term 3 Ange invited parents in for the last lesson of the day to have her students show parents some of their learning. This began by showing parents Mindset videos students had made around the topic of maths. This was very powerful as not only was it reinforcing the importance of mindset to students but it was educating parents at the same time. This means that a certain level of consistency has been created between what students are learning and what parents understand to be happening in the classroom. Students then took parents out into the wet area and demonstrated their coding skills with the Bee Bots. The students final task was to show their parents two Keynote presentations which had been made on the iPads. Students had to go through their presentations explaining the content they had created. One presentation was on spiders and the other on a country of the students choice.

Ange’s classroom was packed with parents and caregivers all keen to see what their child had been doing. Every child had an adult attend.

Having had conversations with the parents and teachers involved in these communications methods it is clear there has been some significant upside including improved parent understanding of the curriculum and the teacher’s role, improved parent perception of the school, improved parental engagement in student learning and a sense of job satisfaction felt by the teacher.

Makers Empire – 3D Printing in South Australian Schools

Makers Empire are an Adelaide company that produce software and programs for schools in the area of 3D printing. During Feb – June of 2017 Makers Empire partnered with DECD to roll out 3D printing programs in 50 primary schools. The program, titled Makers Empire learning by design involved a 20 hour professional learning program which culminated in schools presenting their completed projects at Grange Primary School. To read more about this click here. To see a list of schools involved in the project click here.

Makers Empire does not supply or sell 3D printers but supplies the training, software, programs and lessons for teachers to use 3D printing in the classroom.

See how the Makers Empire software works


Here are some examples of how schools have used the Makers Empire software.

To see more videos from schools and how they used Makers Empire click here.

Five classroom ready STEM projects

The following is taken directly from the Power Anchor website.

“The Power Anchor is a smart way of delivering power to car, ground effect vehicles and aircraft deign projects. The beauty of this is the vehicles aren¹t weighed down by batteries. You don¹t have to worry about any steering either because the vehicles are pulled around the Power Anchor by the same cable that delivers the current. The vehicle designs can be kept simple and when it comes to testing, results can be reliable because many of the variables are removed.

  • It is portable with the four 6V batteries fully enclosed in the base, there is no need to plug it in.
  • It is sturdy, made from tough materials.
  • It is easy enough to use that even young students can work independently.
  • And it looks great which adds to the classroom excitement when doing project work.”

The Power Anchor comes with five classroom ready STEM projects which all use the Power Anchor to control and test the project.

What is the Power Anchor?

Power Anchor includes tether cables and hand controls (4 x 6V batteries not included) $950

Full set of 5 Teaching Resource Packs $450 ($185 each if bought separately)


Power Anchor STEM Project 1- Race Chase (Year 4 and up)

Equipment: Scissors, screwdriver, Power Anchor, teacher resource pack $185, Class pack 30 students $390.

Concepts: speed, acceleration, velocity ratio, power, terminal velocity.

Power Anchor STEM Project 2- Helicar (Year 6 and up)

Equipment: Rasping file, hot glue, soldering iron, Power Anchor, teacher resource pack $185, Class pack parts 25 students $240, class pack modelling foam 25 pieces $95.

Concepts: speed, acceleration, aerodynamics, terminal velocity.

Power Anchor STEM Project 3 – Protocar (Year 8 and up)

Equipment: Scissors, hot glue, soldering iron, Power Anchor, teacher resource pack $185, Class pack 25 students $255.

Concepts: lift, ground effect.

Power Anchor STEM Project 4 – Skylab (Year 7 and up)

Equipment: Scissors, hot glue, soldering iron, Power Anchor, teacher resource pack $185, Class pack 25 students balsa sticks and sheets $185, class pack of parts 25 students wheels/axels/motors/propellers $195.

Concepts: lift, drag, centre of mass, control surfaces, thrust.

Power Anchor STEM Project 5 – Downforce Racer (Year 8 and up)

Equipment: Screwdriver, hot glue, soldering iron, Power Anchor, teacher resource pack $185, Class pack 25 students Forex car parts cut to size (or templates for schools with CNC or Laser Cutter technology) $165, class pack of parts 25 students wheels/axels/motors/gears, gear box, spares $345.

Concepts: friction, power, gear ratio, acceleration, down force, drag.


STEM Lead Learning Expo

DECD have opened registration for their STEM Lead Learning Expo which will be held twice – 8th Sept and 3rd October. You can register through the PLINK site. Click here to go to the registration page.

The Expo will allow teachers and leaders to hear about how lead sites:

  • design STEM learning shoulder-to-shoulder with kids
  • develop self-directed questioning techniques
  • leverage learning ‘huddles’ to drive engagement and stretch thinking
  • foster deep learning through nature play
  • enable learners to identify real world problems for rich inquiries
  • foster industry links that build positive STEM dispositions
  • use design thinking to critically and creatively solve real world problems
  • use a community of inquiry approach to inform their STEM learning design processes.

For a quick look at each school presenting at the Expo see the videos below.

PBAS STEM 10 – What are other schools doing?

This post highlights some of the resources and approaches being taken by the NSW Education Department in the area of STEM. Click on the links provided to be taken to a variety of resources including: planning for STEM (primary & secondary settings), how schools are embedding STEM, Maitland Grossmann High School’s iSTEM curriculum (now used in over 135 schools in NSW), STEM resources page and STEM in industry (agriculture).


Planning for STEM

What thinking is required to plan for and implement STEM in schools? STEM learning experiences involve explicit learning and teaching of syllabus content which is applied in project, problem or inquiry-based learning situations that are authentic and contextual.

How are schools embedding STEM Stage 3 (Year 5 & 6)

The Stage 3  Integrated STEM Project involves teachers from 35 schools working either as individual schools or communities of schools. Schools will document their journey in STEM education, highlighting their processes for embedding STEM in their school culture and in classroom teaching and learning practices.

How are schools embedding STEM Stage 4 (Year 7 & 8)

The Stage 4 Integrated STEM Project promotes an interdisciplinary approach to teaching science, technology, engineering and mathematics in Stage4. Teachers engaged in cross-curriculum planning with a major focus on aligning syllabus outcomes, promoting higher order thinking through authentic project-based tasks.

iSTEM Curriculum (Years 9 & 10)

In 2013 Regional Development Australia – Hunter’s ME Program Director Dr Scott Sleap, in collaboration with local industry and STEM teachers at Maitland Grossmann High School developed the iSTEM curriculum. iSTEM is a student centred subject for students in Years 9 and 10 that delivers Science, Technology, Engineering and Mathematics (STEM) in an integrated way.

This page also provides resources associated with the iSTEM program including syllabus documents.

STEM Resources

A broad range of links are provided on this page including links to the following:

  • University of New South Wales – Girls do the maths
  • Scientists and Mathematicians in schools
  • F1 in schools
  • Australian STEM Video Game Challenge
  • Science Bootcamp
  • FIRST® Robotics Australia

STEM in the agricultural industry 

Three videos discussing the science, technology, tools and techniques used in cattle breeding, dairy farming and cotton farming.

I say well done and good job too much!

I take a fair bit of video in my R/1 PE class because it helps me identify student achievement. While I was watching a video of my students doing some ball handling skills, which included dribbling, catching and throwing I noticed that my feedback during that section of the lesson was a combination of phrases like well done and good job. While this type of praise can make students smile and feel good it does not necessarily improve learning.

I’m not discounting general praise statements, for some students it is exactly what they need. I could have however been providing my students much more specific feedback/praise to reinforce the cues I had asked students to focus on when they were catching, throwing and dribbling. For example – watch the ball (don’t look away), when you catch the ball have your arms outstretched not by your side, have soft fingers and big hands, use the tips of your fingers to bounce the ball not your palm and so on. By saying well done I am not acknowledging the specific learning the student has applied, for example, that was a great catch because you held your arms out in front of you. The child is much more likely to hold their arms out in front next time because I have positively reinforced that specific behaviour.

It is not new to me that specific/targeted feedback is more effective than general praise but that has not stopped me from defaulting to a natural response when a child does something well. During a fast paced and busy PE lesson it is easier to revert back to a natural response than it is to identify clearly to the student what they are doing well. It took a video of my teaching to remind me of that.

Have you ever seen or heard yourself teach?
What do you think you would discover if you did?

A quick response formative assessment tool – Plickers

Looking for a formative assessment response tool that does not require your students to have an iPad, PC or laptop? Looking for a tool that still allows you to collect and collate students responses quickly?

Plickers does not require students to have their own device only the teacher. Students need a paper response card to hold up for the teacher to scan using their phone. The paper response cards are free and downloadable from the Plicker’s website.

Below is a Plickers student response card. You will notice that when you set up your classes in Plickers that each student is assigned a number. It is important the student has the correctly numbered card. The card below is card number 1. After a question has been asked the student holds the card up with the letter that they think corresponds with the correct answer at the top. On the card below the letter ‘B’ is at the top. The teacher walks around and scans each card collating all student responses quickly and seeing which students answered correctly or incorrectly. Card sets can be used with multiple classes for example card number 1 can be used across four different classes for four different students.

The videos below shows how to set up an account, classes, questions and scan response cards as well as demonstrating the use of Plickers in a classroom.


Plickers Tutorial 2016 Formative Assessment Tool

 
See how a teacher uses Plickers to identify students pre knowledge about a topic before beginning a unit of work

Movement stories for junior primary students

I was listening to a PE Geek Podcast the other day and came across a great resource for junior primary teachers that gets kids moving using stories as a basis for those movements. The stories are produced by BBC School Radio and posted to their website. The idea is that students listen and as part of the story the narrator instructs students on different movements that connect with the narrative for example, stomping through a forest, sneaking into a dragons cave or clanking around in a knights suit of armour. I tried one with my R/1 PE class today and they absolutely loved it! The story we listened to was called Knights, Castles and Dragons.

Knights, Castles and Dragons – the students loved it!


Click here to view all the available BBC Let’s Move podcasts. Each podcast can be downloaded to your computer so internet access is not required when you play the file.

Keep in mind that these are just audio files. The next time I use one of these with a class I am planning to make up a slide show of images that relates to the story so the students also have something to look at while they are moving and listening to the story.